I got a HP Chromebook used, bought it to flash it and convert it into a nice secure Linux machine.
The CPU is quite old and actively cooled, but the display is huge! Will become a nice workstation once a real OS is on there (go away Gemini).
1. Logging in normally
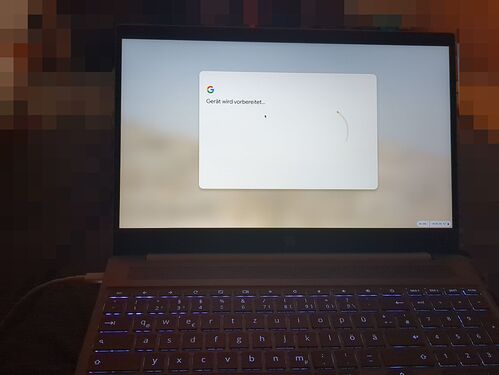
I started it up normally. Loggin in with a previously created Google Account always required giving a phone number, so I created a new one, and under “advanced” (bottom left) I was able to skip the phone number.
Question: Is this first normal setup needed to boot into recovery?
2. Boot into recovery
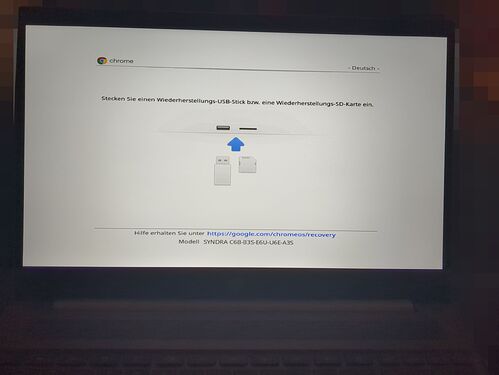
Pressed Esc+Refresh+Power, turned off, pressed it again, display flashed shortly then it turned on and into the scary recovery screen.
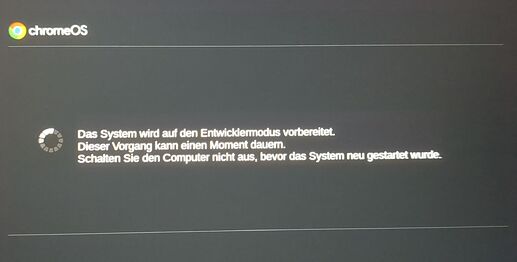
3. Enable developer mode
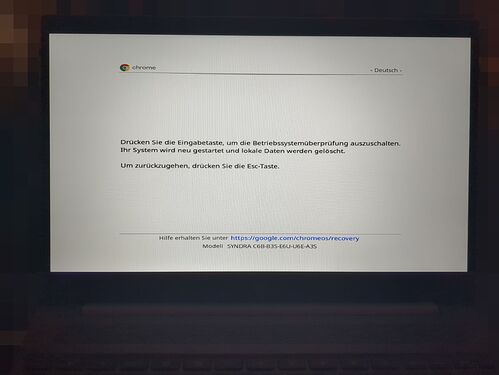
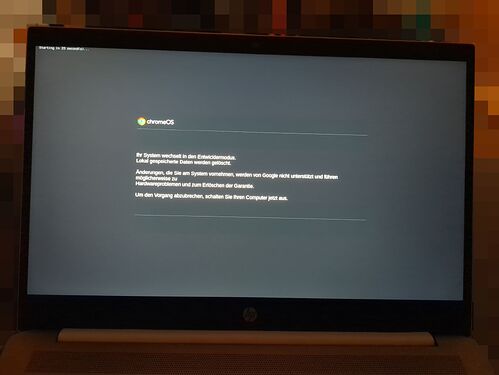
Pressing Ctrl+D instead of Space and a bit of waiting.
4. Turn off, open up
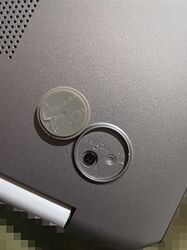
That was the hardest part. The screws were beneath little rubber feet and little plastic caps, I needed to remove those with a knife.
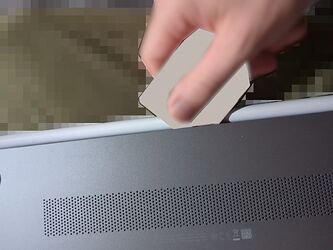
I used an old ID card as pryer. Nothing screams more “fuck the system” than that XD.
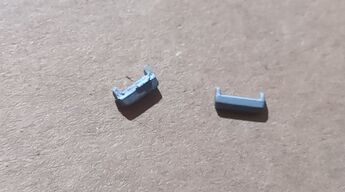
This is a very soft method, but anyways 3 of these plastic clips broke off…
This level of unrepairability is pretty insane…
5. WP disabling
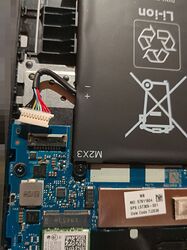
In this case, this was done by just plugging out the battery cable.
Without reapplying the back cover, I just put it on the box it came in, to prevent anything from touching the cooler etc.
Plugged in the charging cable and turned it on normally
6. Exit to chronos shell
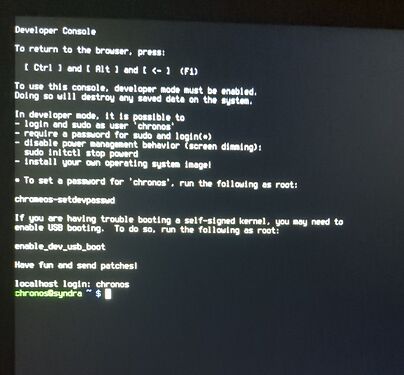
Without needing to log in or create an account or anything, as soon as the setup screen appeared, I used Ctrl+Alt+F2 (the second arrow) to get into the TTY, like on Linux.
Type in chronos and no password is needed.
7. Connecting to the internet
That Google garbage doesn’t get my wifi password! Otherwise in the Chronos shell, the user registered Wifi would work, afaik.
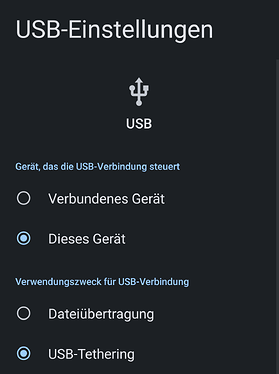
Luckily I could just use my phone, connect via USB cable and in the Android device settings enable “USB Tethering”. Now the Chromebook has an “Ethernet” connection over USB, which works without issues.
Testing the connection:
ping 1.1.1.1
# works
ping wikipedia.org
# works
8. Running the firmware util script
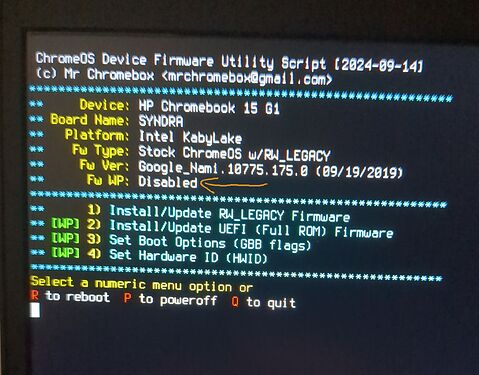
cd; curl -LO mrchromebox.tech/firmware-util.sh && sudo bash firmware-util.sh
It shows me write protection is disabled, nice!
9. Prepare a FAT32 USB stick
My USB stick wasn’t working, as the first partition was a bootable Linux ISO, the FAT32 Partition was not the first.
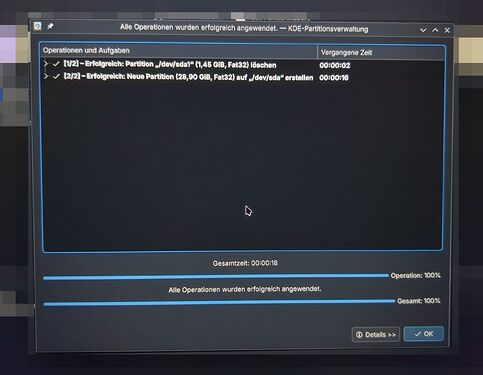
So I took another one, used KDE Partitionmanager to delete all partitions and create one FAT32 one, named usb
10. Plug in USB, backup the stock ROM
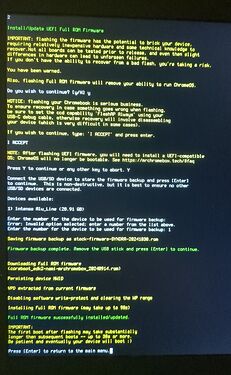
Following the script, the stock ROM was backed up successfully
11. Flashing
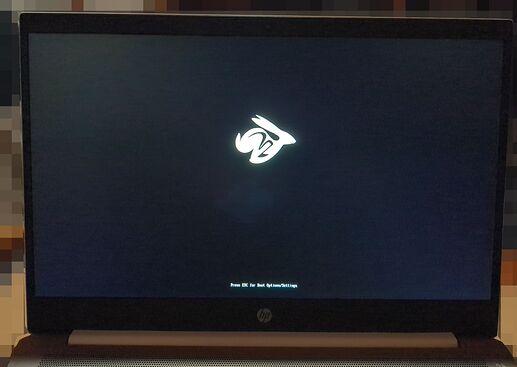
This worked without issues, after a while it allowed me to reboot. The device was still without battery, so I didnt touch it, leave it as it is and it booted into the Coreboot logo!
Now I turned it off again, removed the charging cable, pressed the power button for a while to remove any static electricity and plugged the battery back in.
Done!
